The goal of AIR³ is to provide a turnkey solution for pilots, turning the power and complexity of XCTrack into an easy to use but powerful solution, without having to enter deeply into the XCTrack application.
AIR³ Manager provides the pilot with easy to understand tools that interact with XCTrack PRO. AIR³ Manager is the best XCTrack Pro companion app.
We strongly recommend to always use the latest version of Air³ Manager. Check in the Software Upgrade instructions page.
Here is a list of features obtained thanks to AIR³ Manager.
- Large widget on the desktop to launch XCTrack
- Automatically launch XCTrack PRO on boot
- Change the profile and/or the theme used by XCTrack PRO
- Reset all the settings of XCTrack PRO to initial ones
- Manually or automatically (on boot) download the latest Openair file available in a shared google drive and place it to the right XCTrack subfolder without any other configuration’s need.
- List Openair files located on an accessible Google drive
- Check for upgrades (AIR³ Manager, XCTrack and/or XC Guide)
Read more details below:
Large widget on the desktop to launch XCTrack
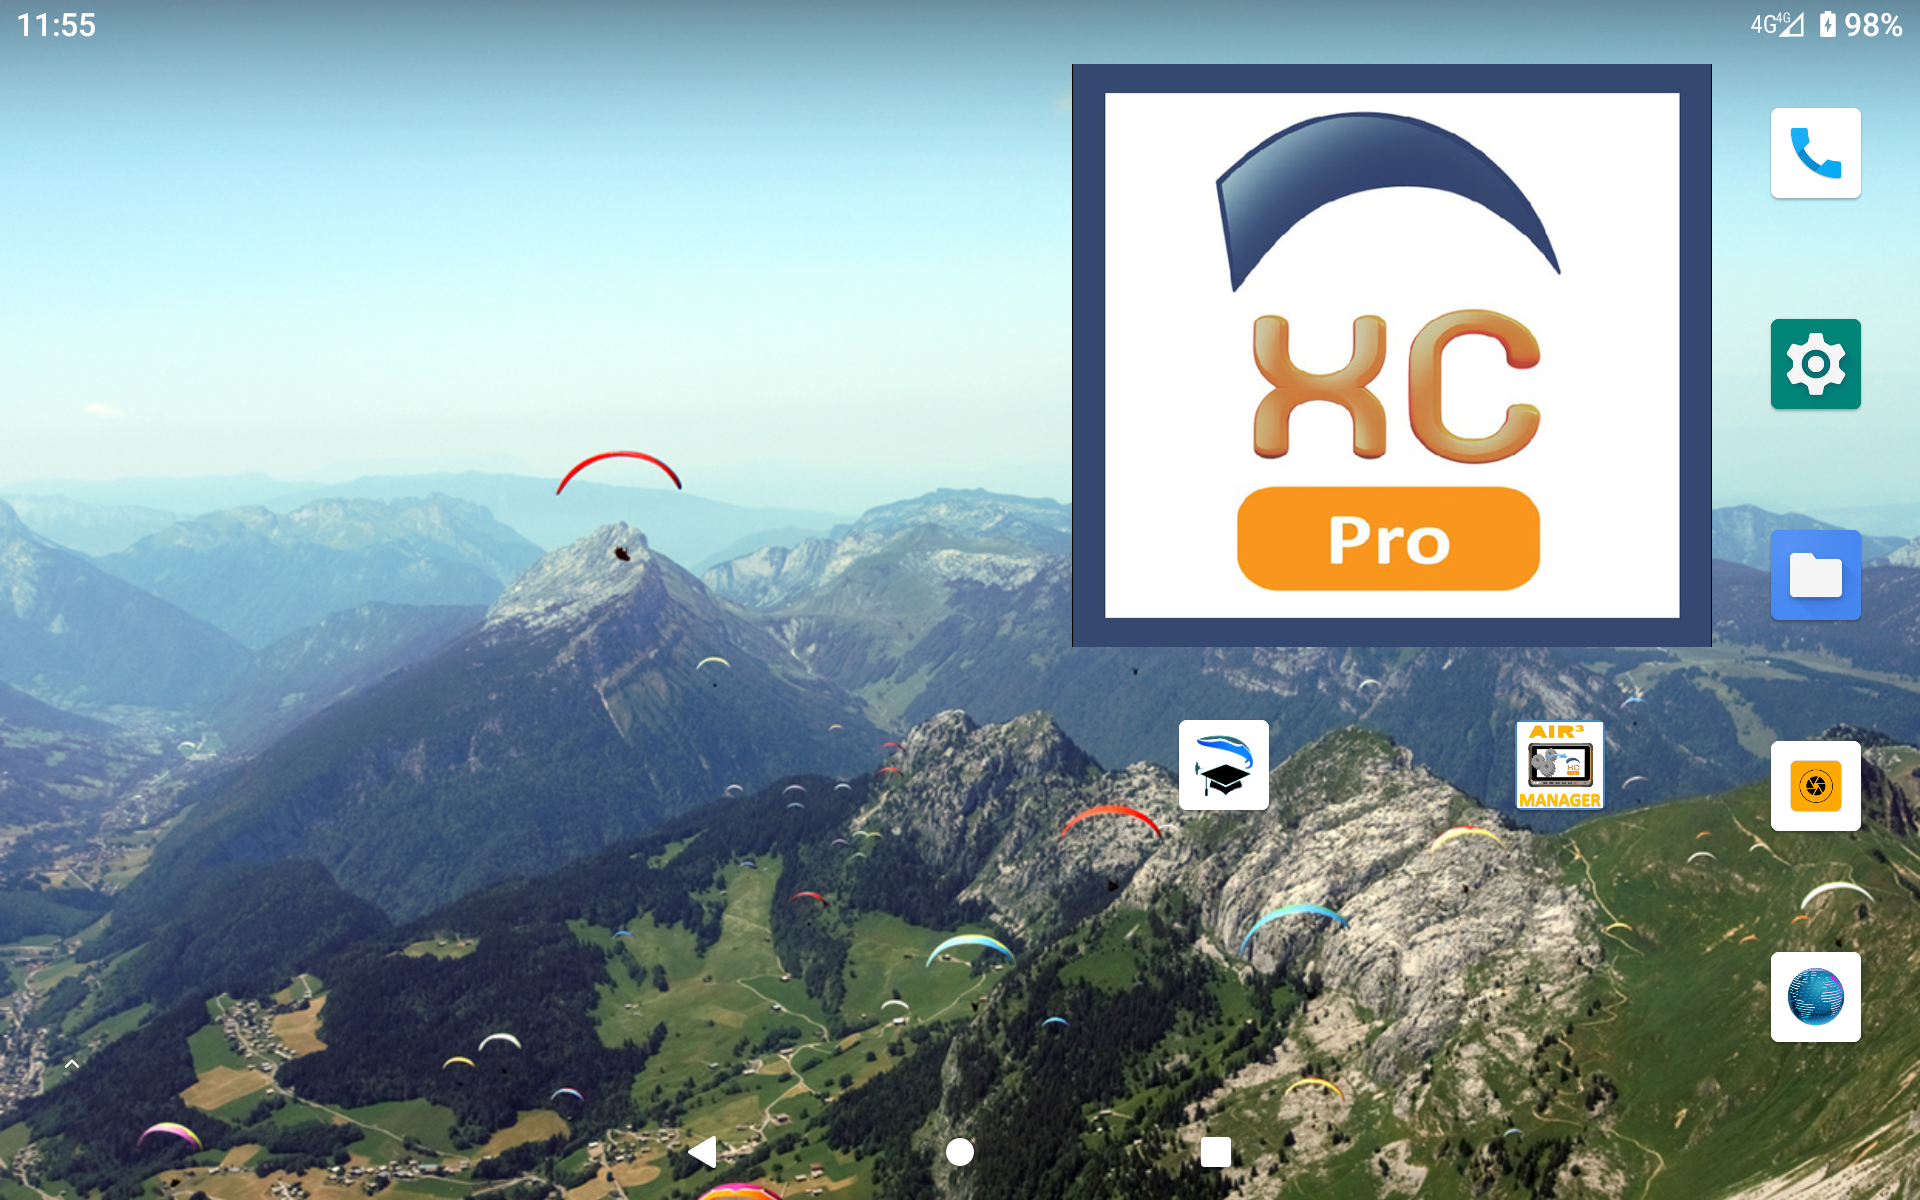
If you have lost your large XCTrack widget on the desktop. Keep your finger on the desktop for more than 1 second.
Select Widgets in the contextual menu.
Select AIR³ Manager widget by keeping your finger on it and swipe/drop it on the desktop.
You can resize it by keeping your finger on it for 1 second and make a small move to swipe/drop it at the same place. Then, you can use your finger to change the size of the sides.
Automatically launch XCTrack on boot
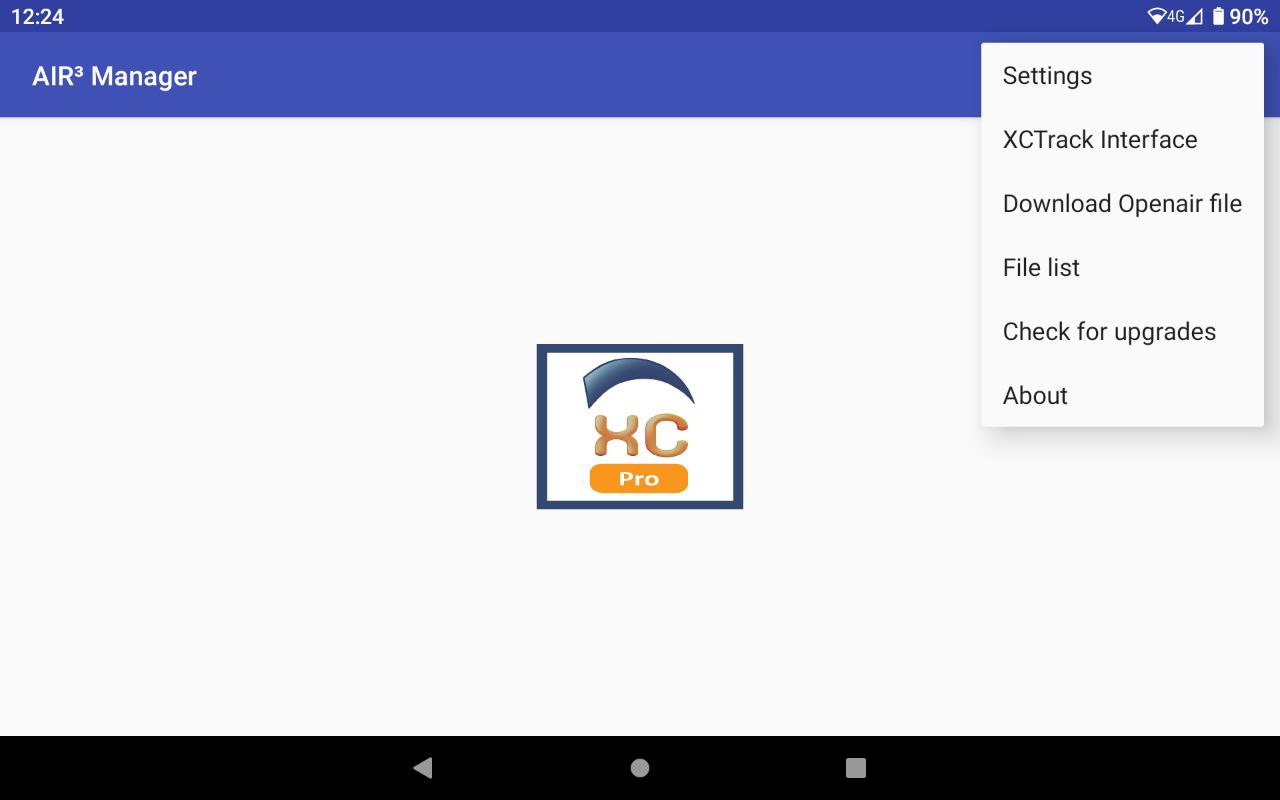
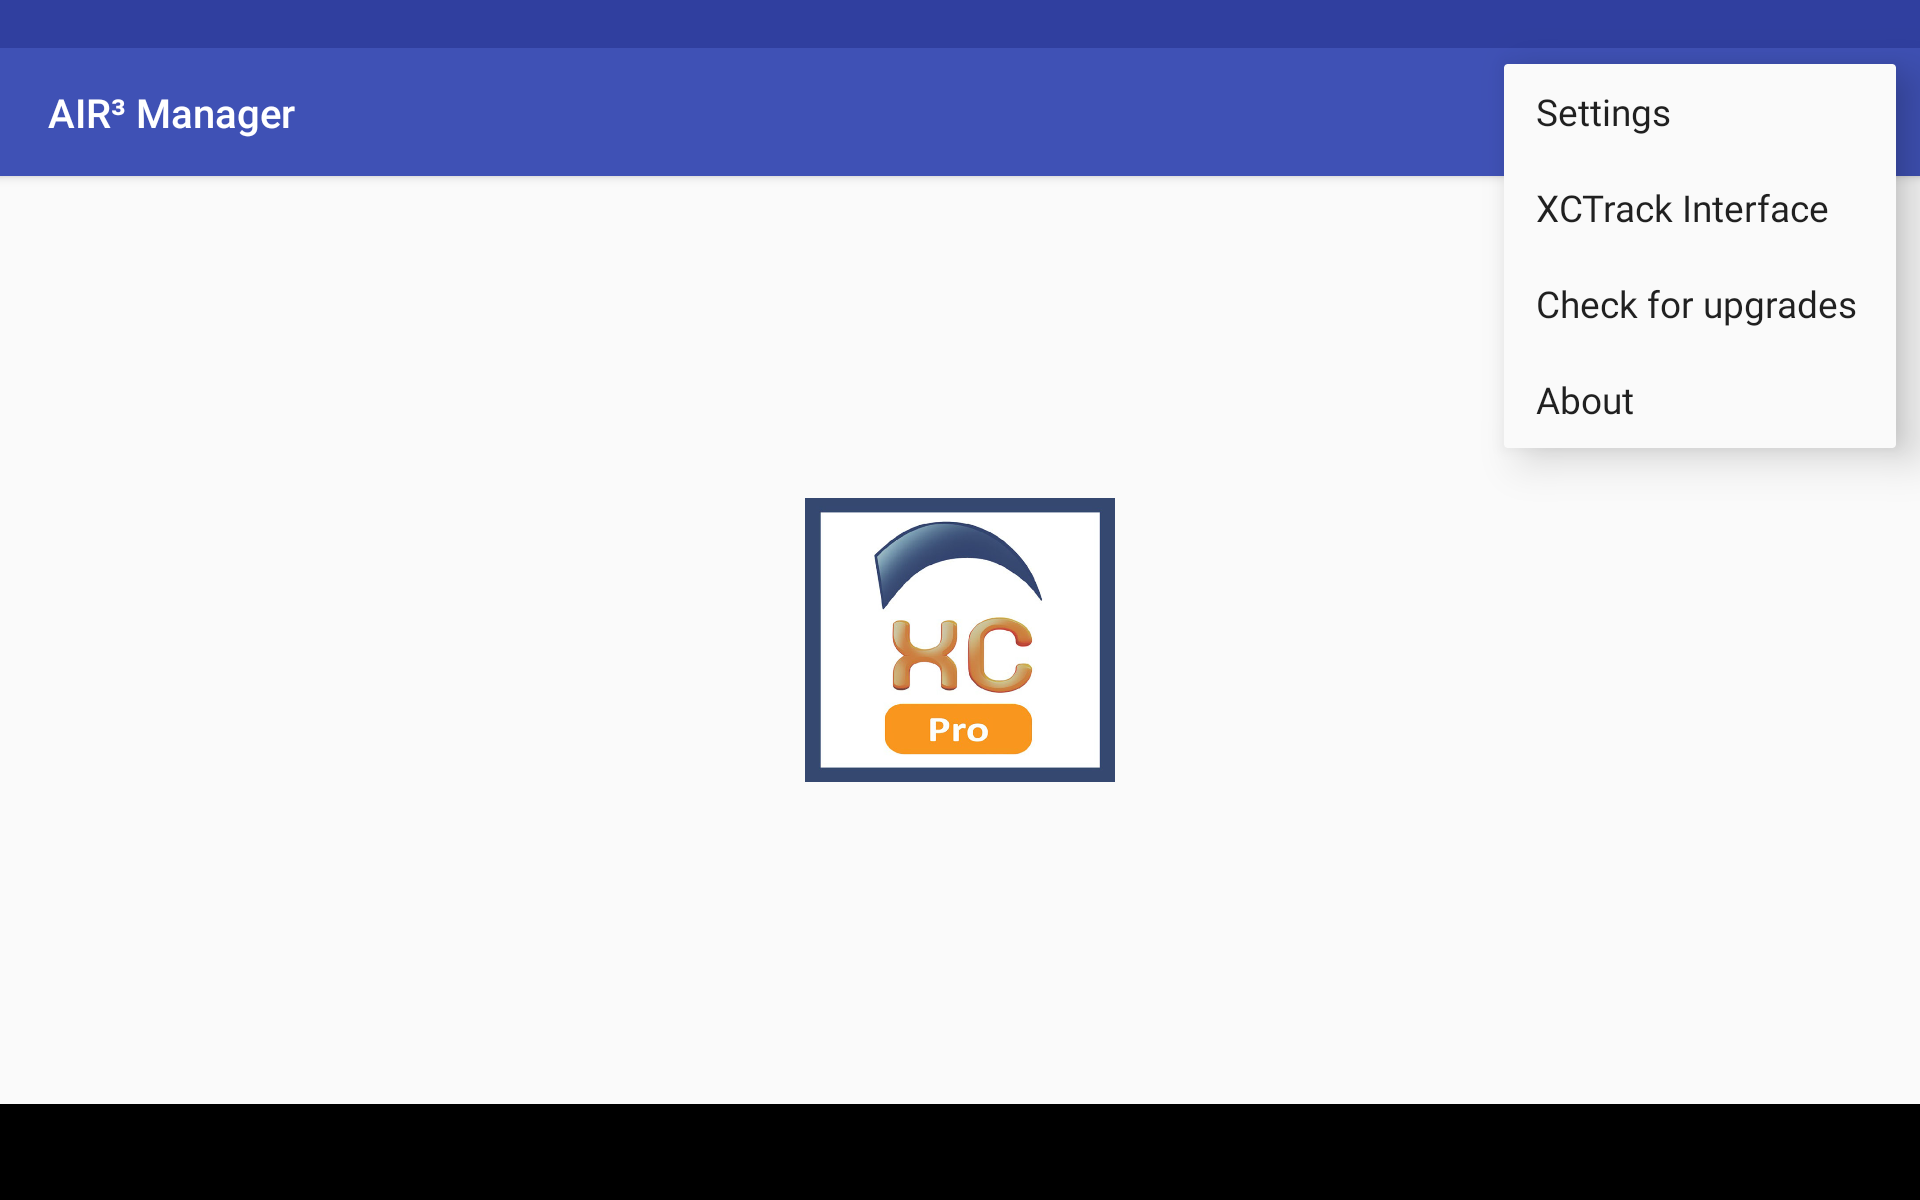
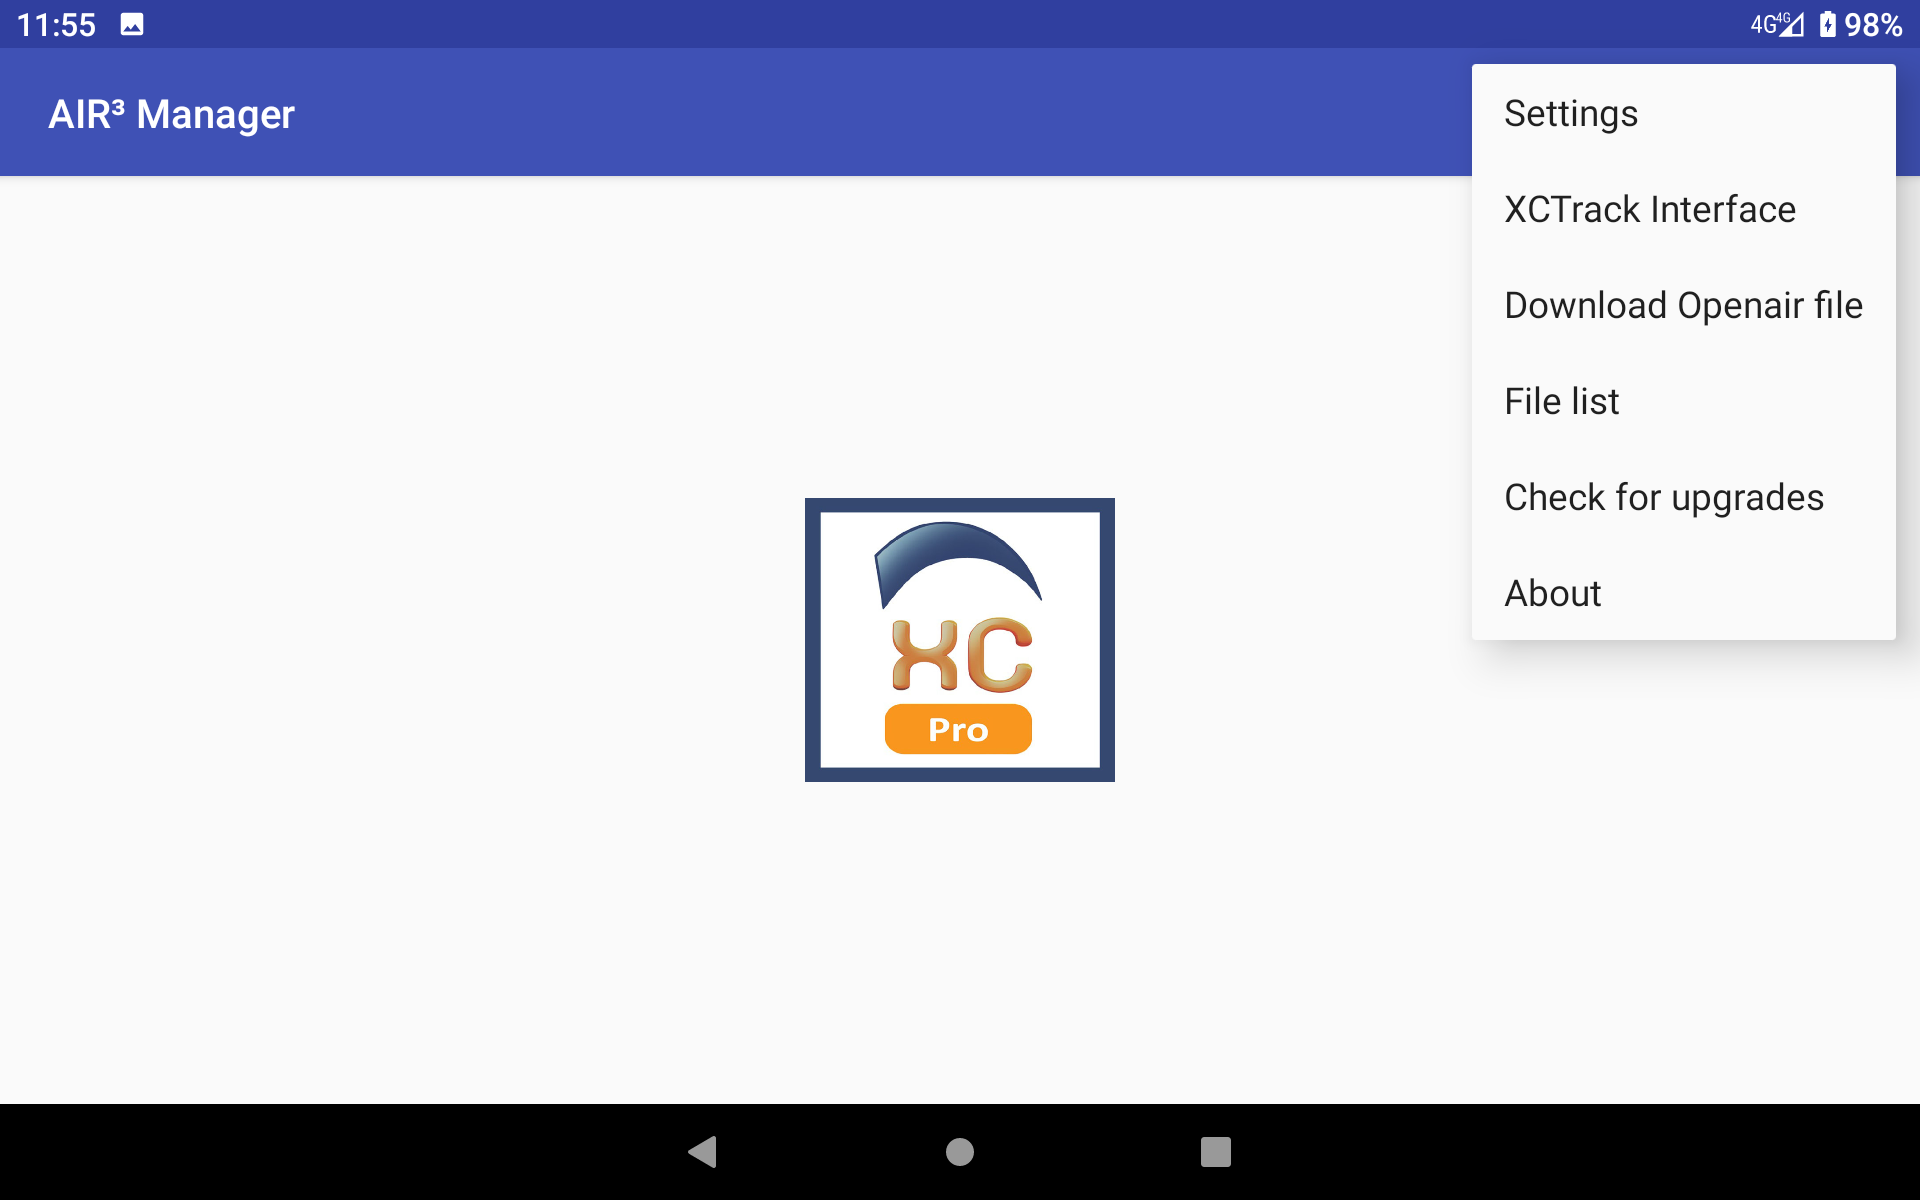
By clicking on the menu (3 dots in the top right corner), you can select “Settings”.
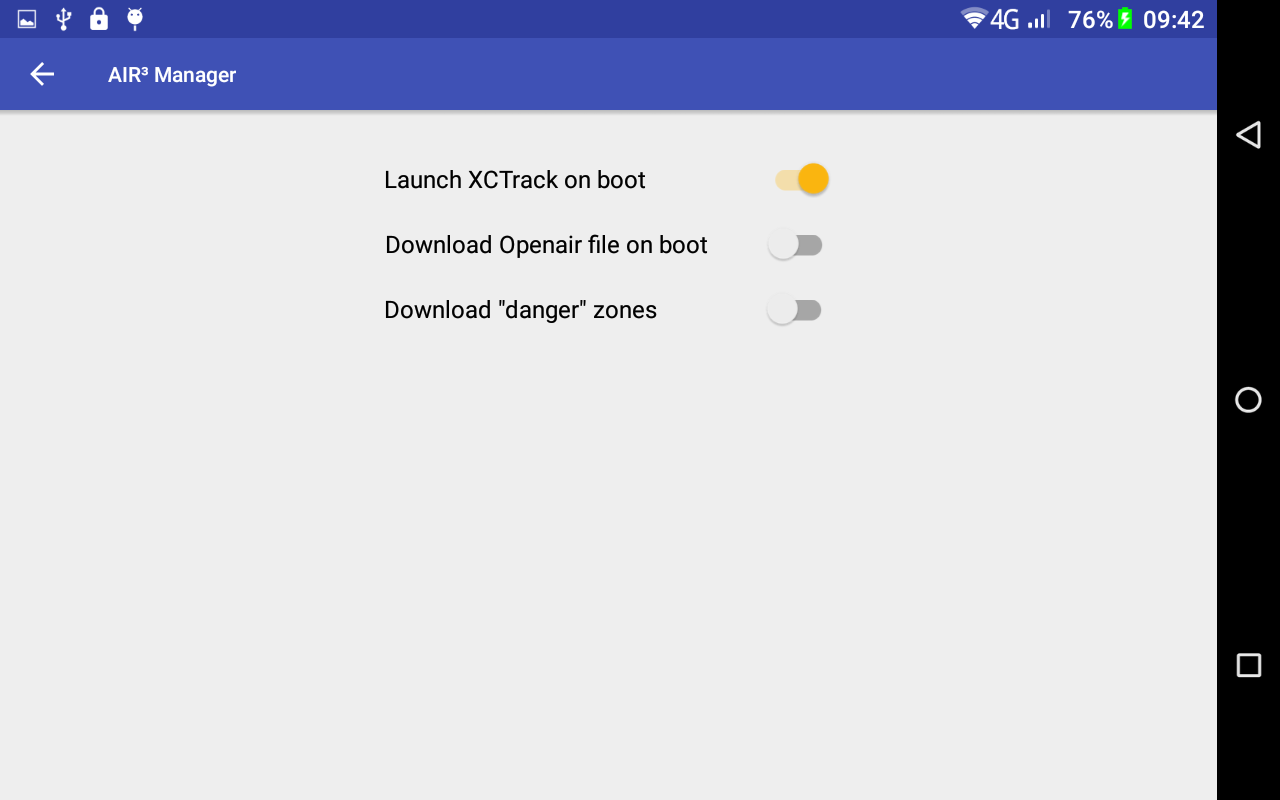
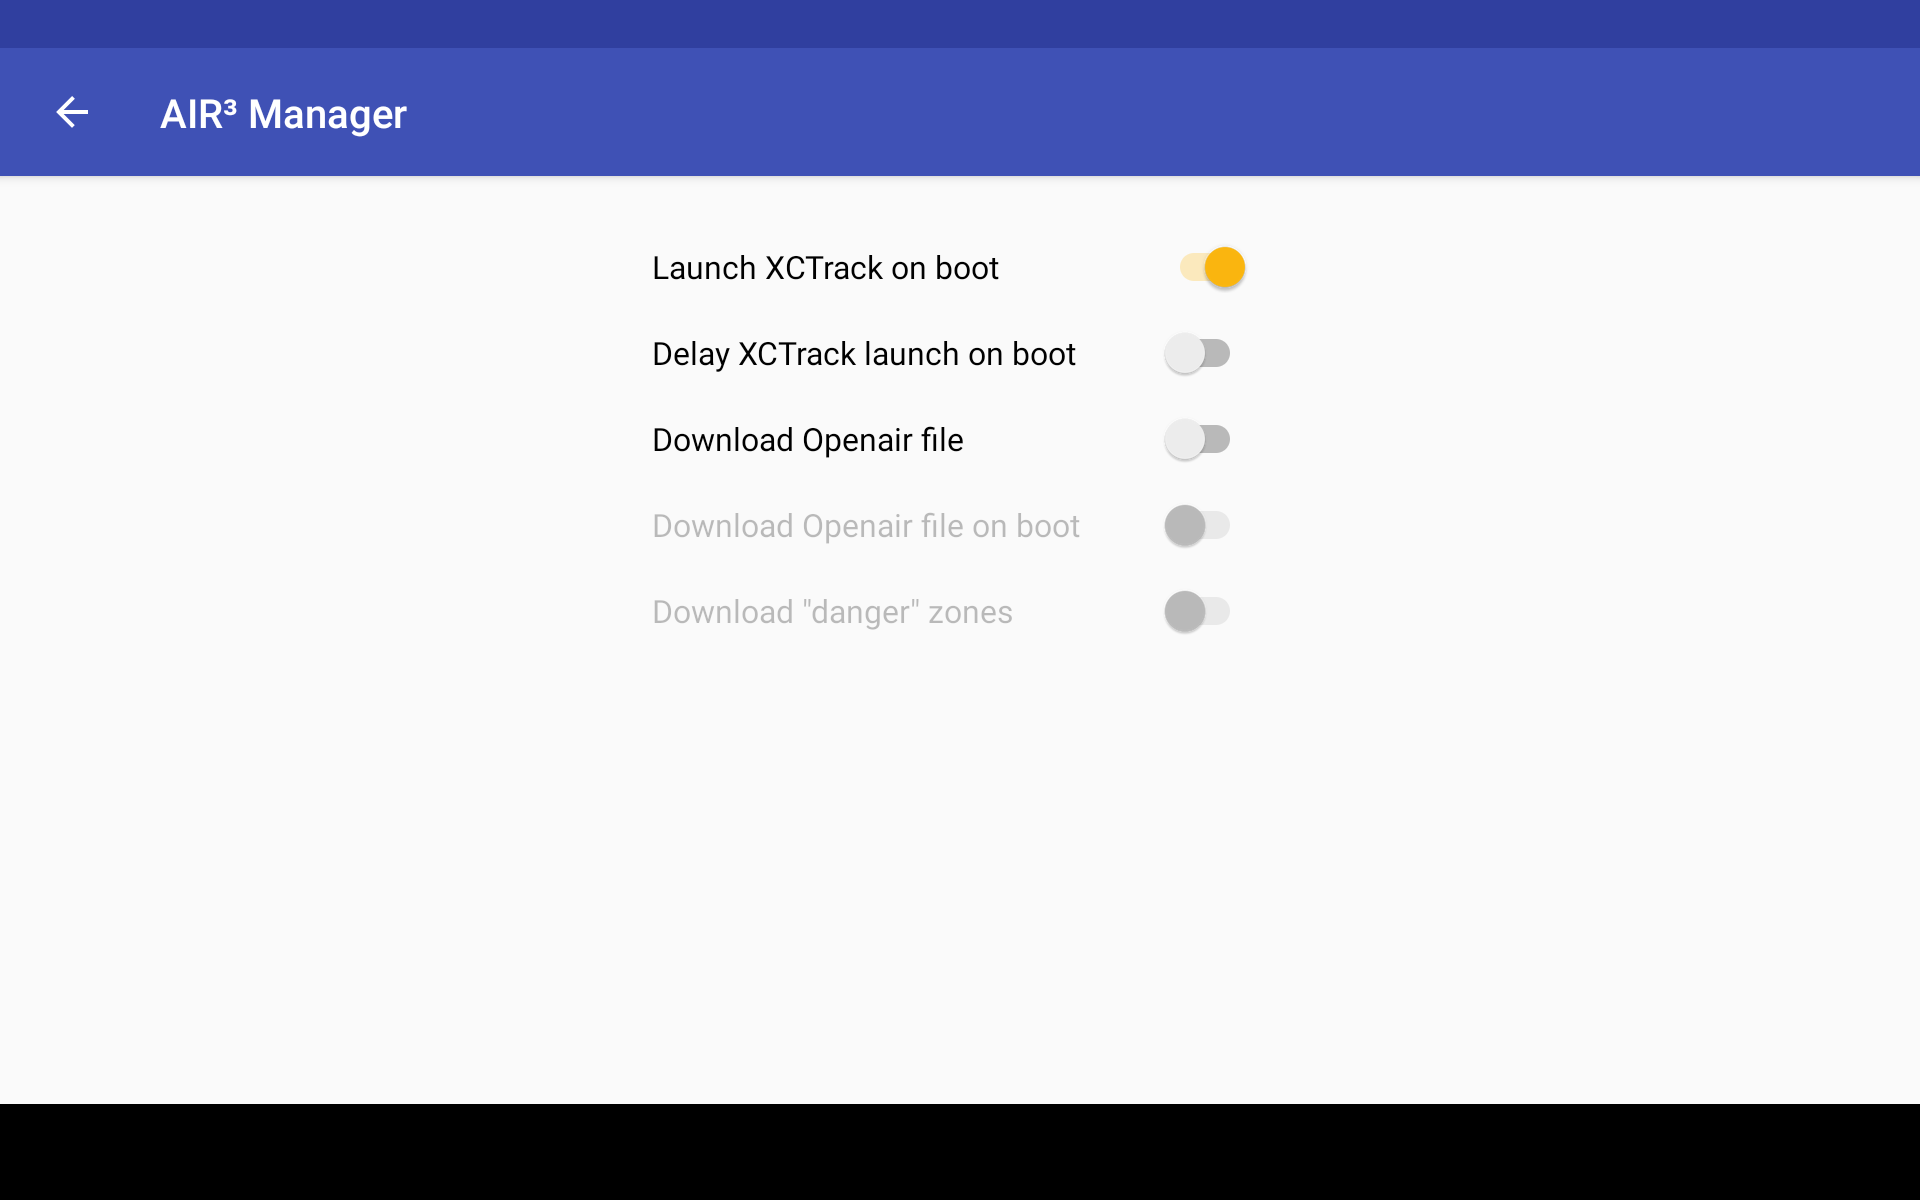
Make sure “Launch XCTrack on boot” is enable if you want XCTrack to start automatically when you start the device.
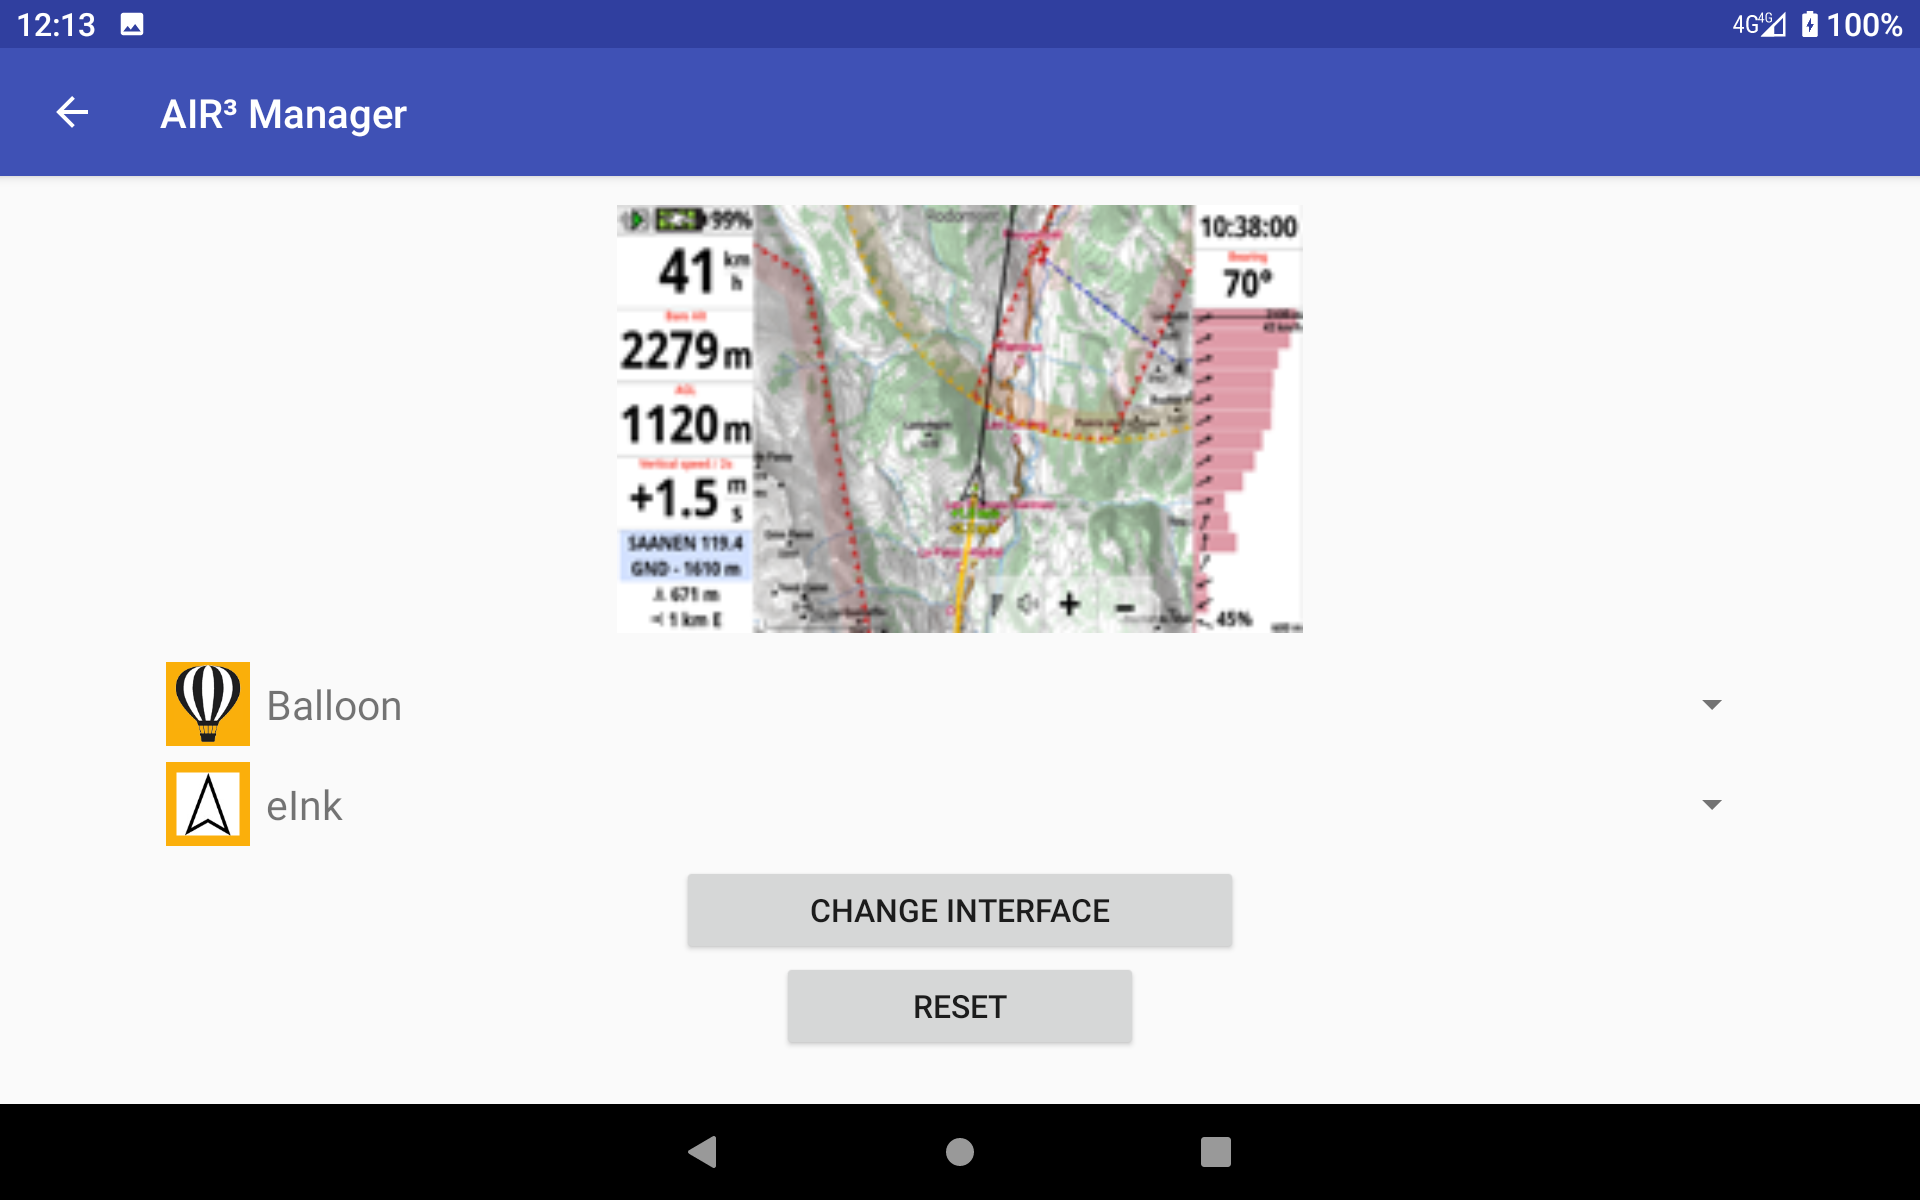
Change the profile and/or theme used by XCTrack Pro
By clicking on the menu (3 dots in the top right corner), you can select “XCTrack interface”.
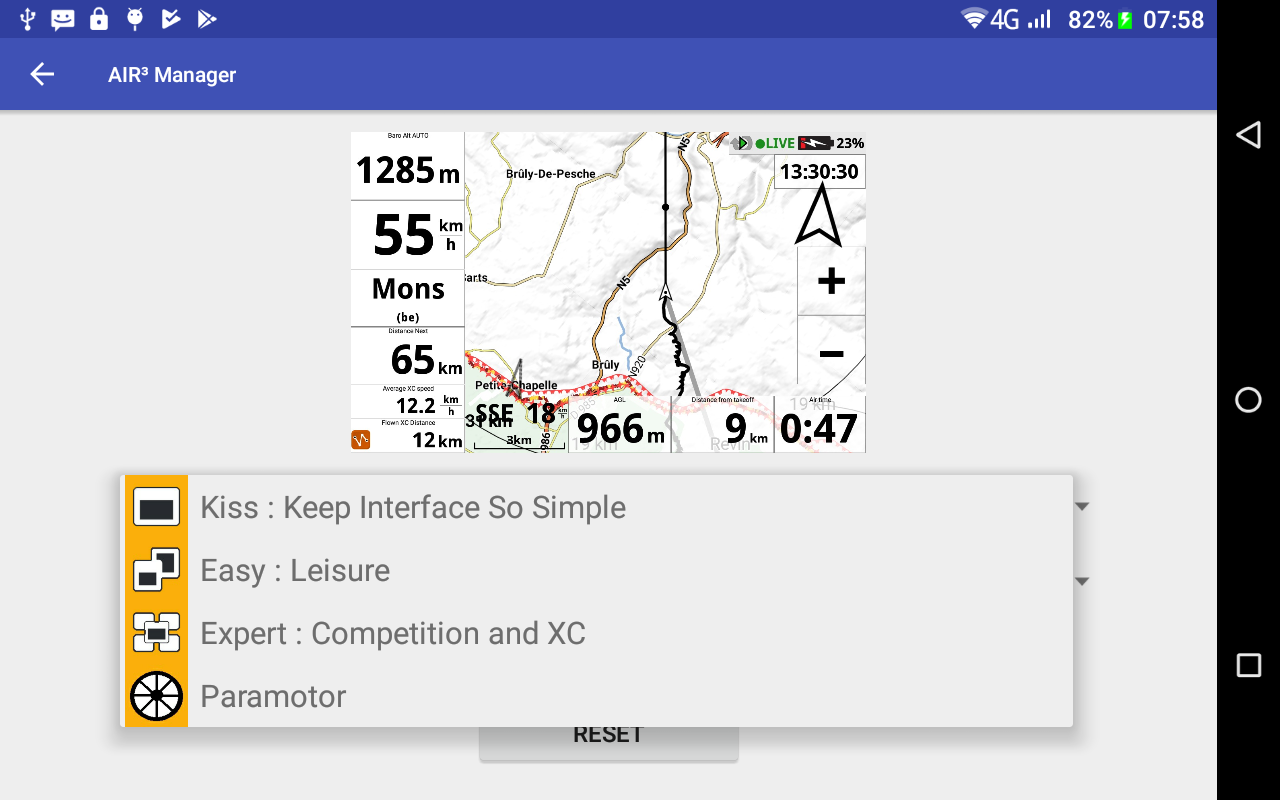
By clicking on the profile, you will get the list of profiles available. Click on the desired one.
By clicking on the theme, you will get the list of themes available. Click on the desired one.
Then click on “Change interface” in order to go to the next step.
Validate your choice of profile and/or theme selection by ticking accordingly. Click on “Change” to confirm.
Once done, you need to start XCTrack. If XCTrack was still running, quit XCTrack and start it again.
IMPORTANT NOTICE: by changing the profile, you will loose any layout customisation you could have applied. If you want to return to your previous configuration, don’t forget to first export your configuration. Read more details here.

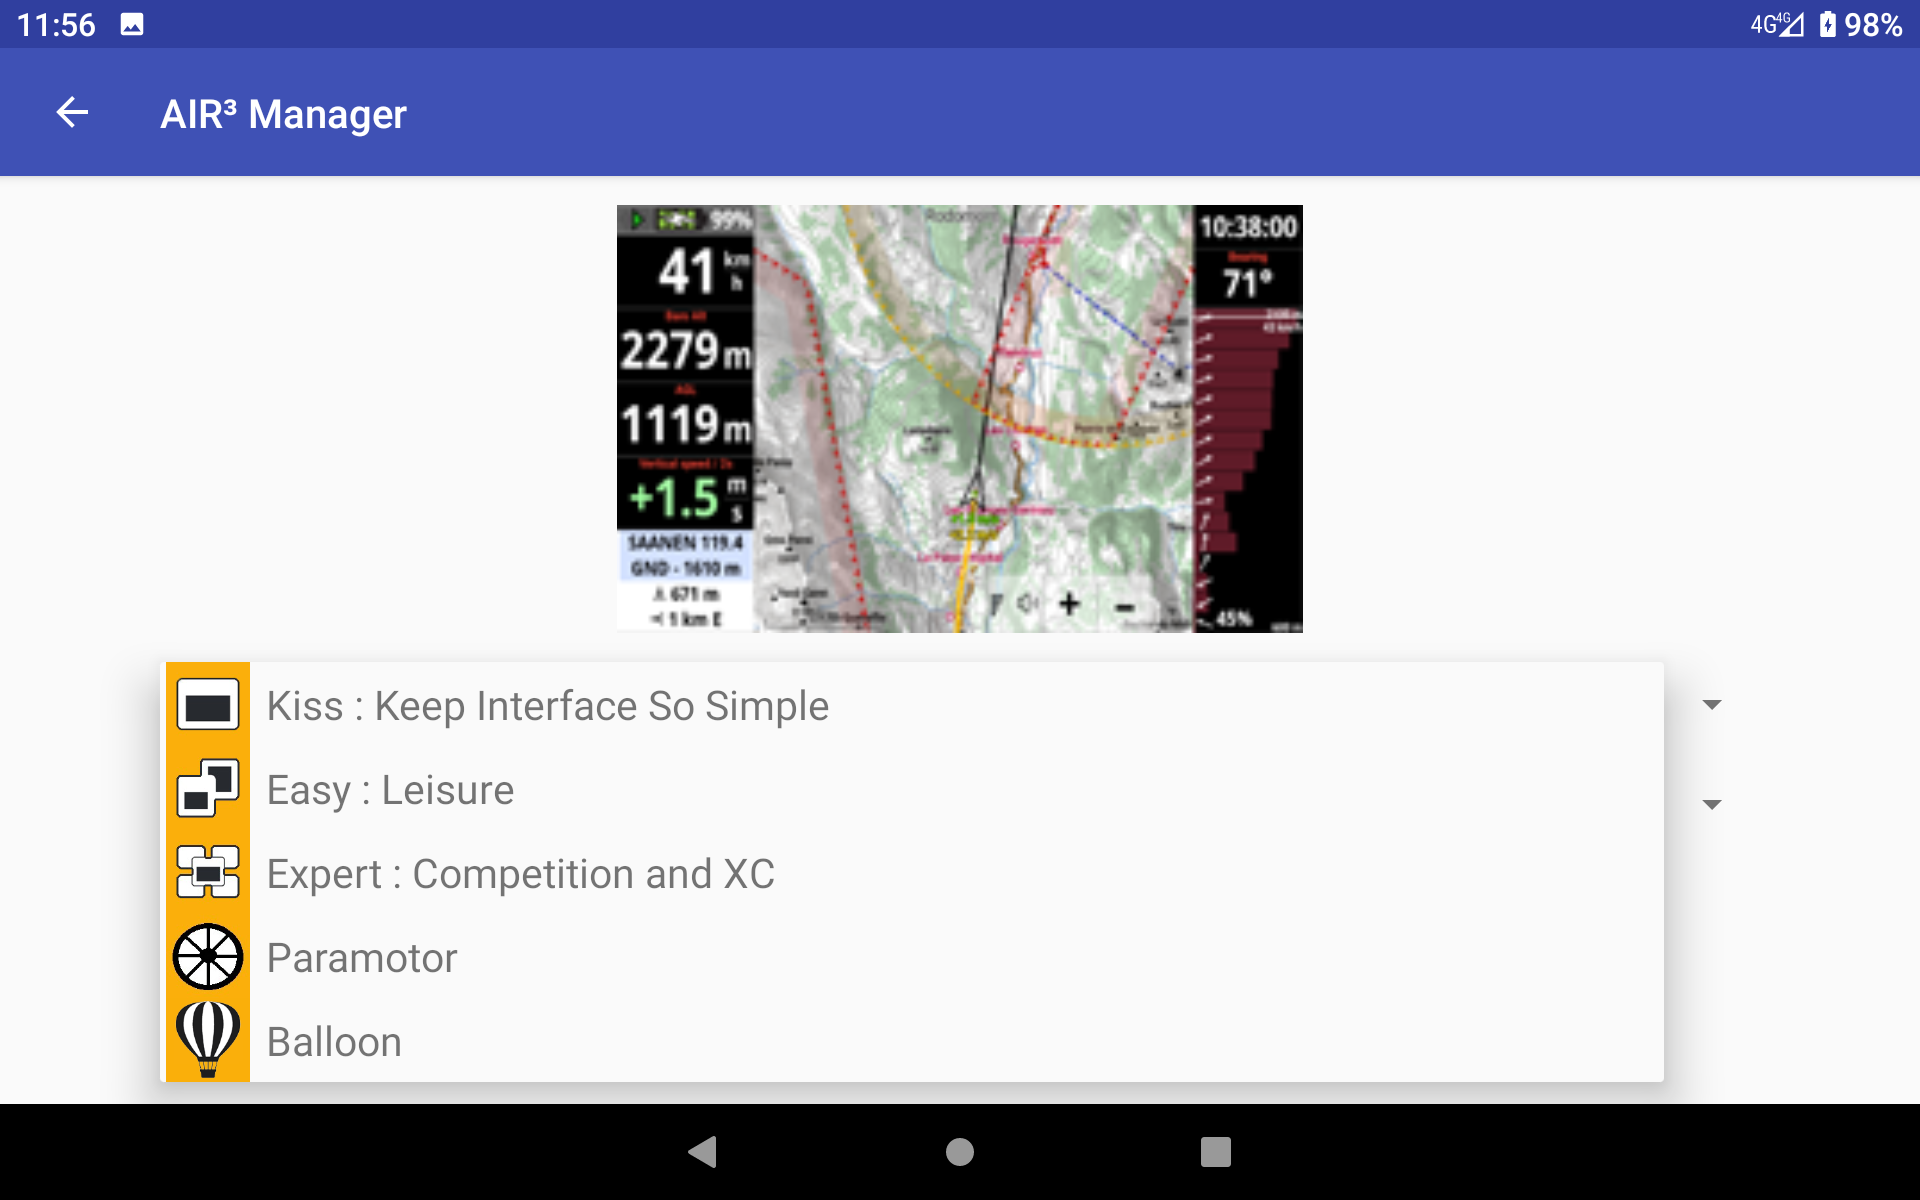
Select your theme

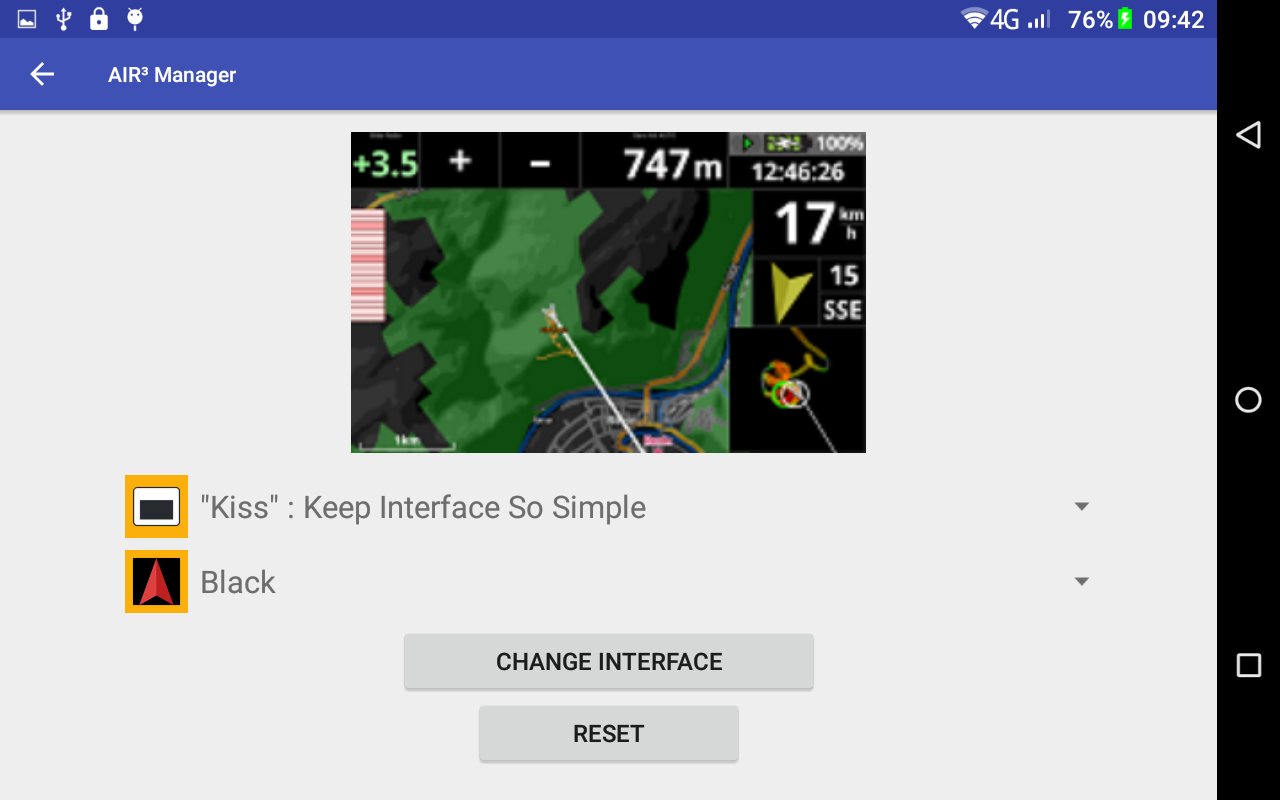

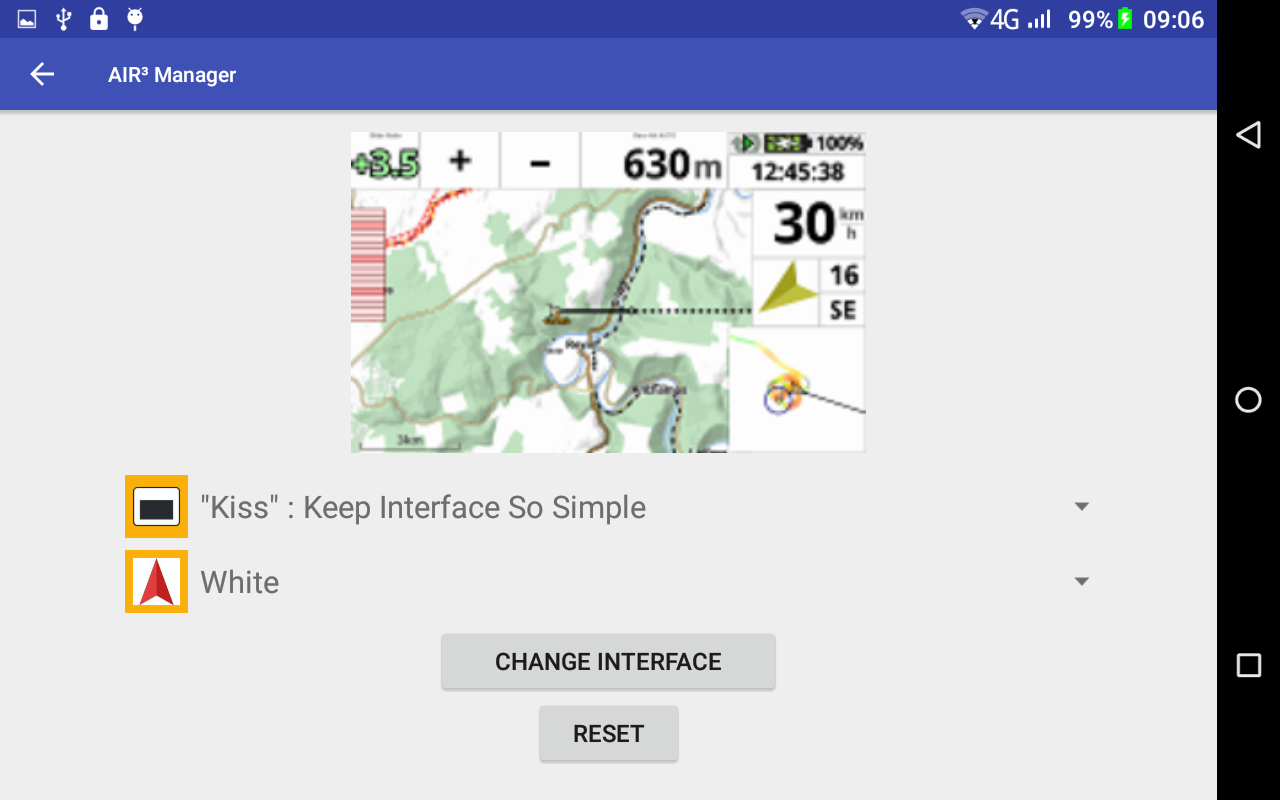

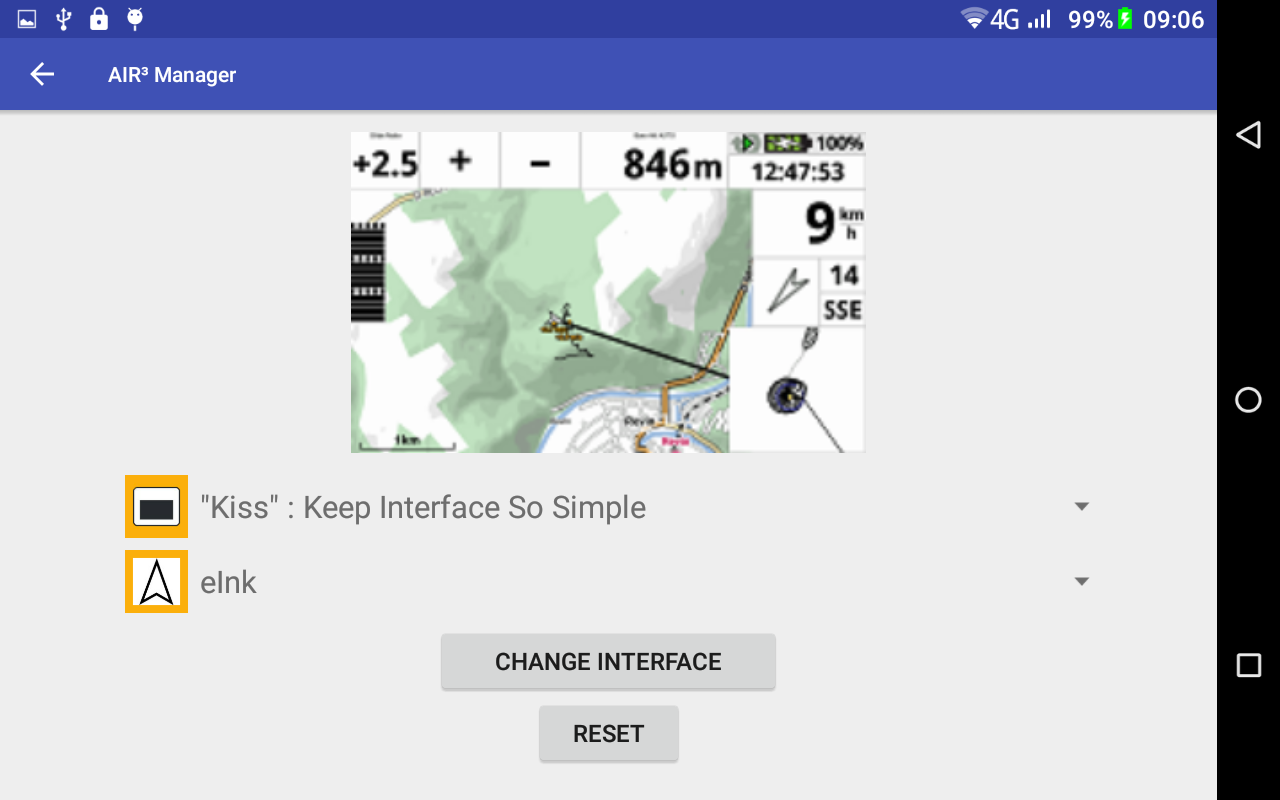
Select your profile
KISS


EASY

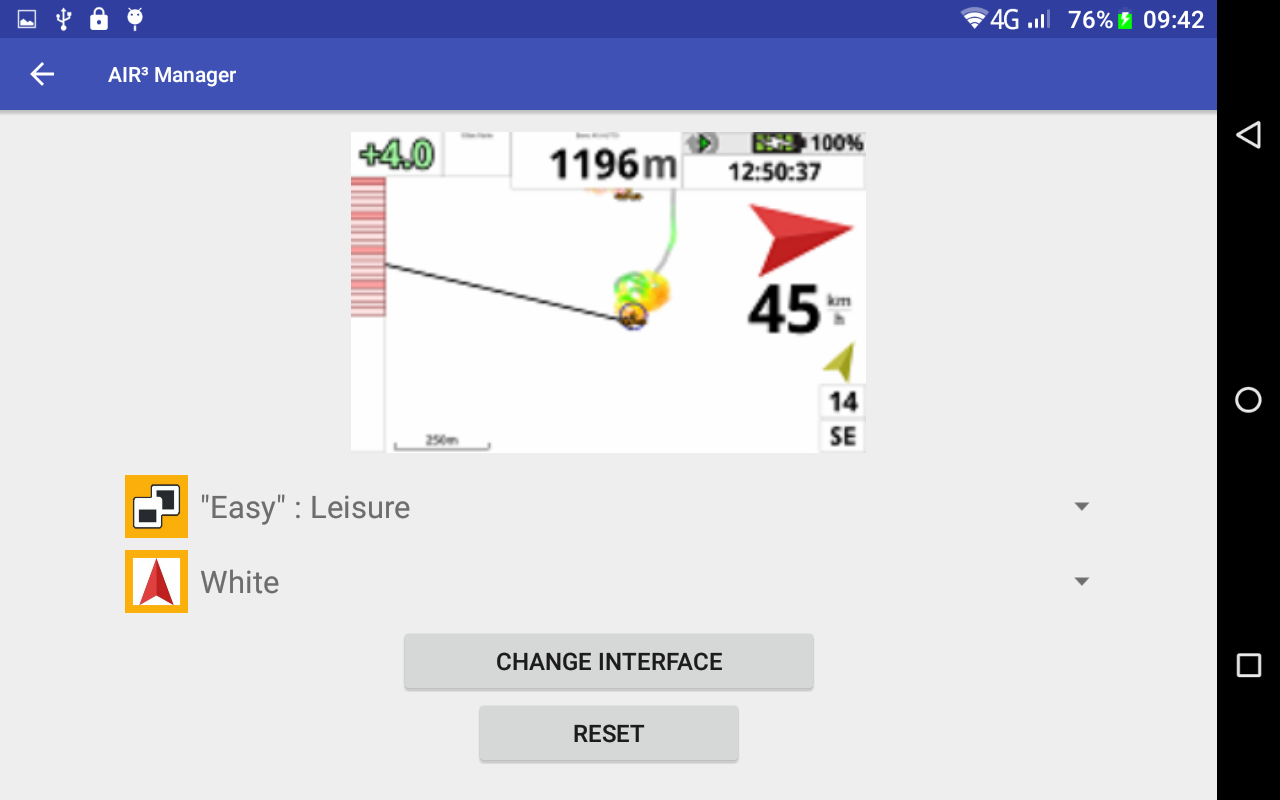
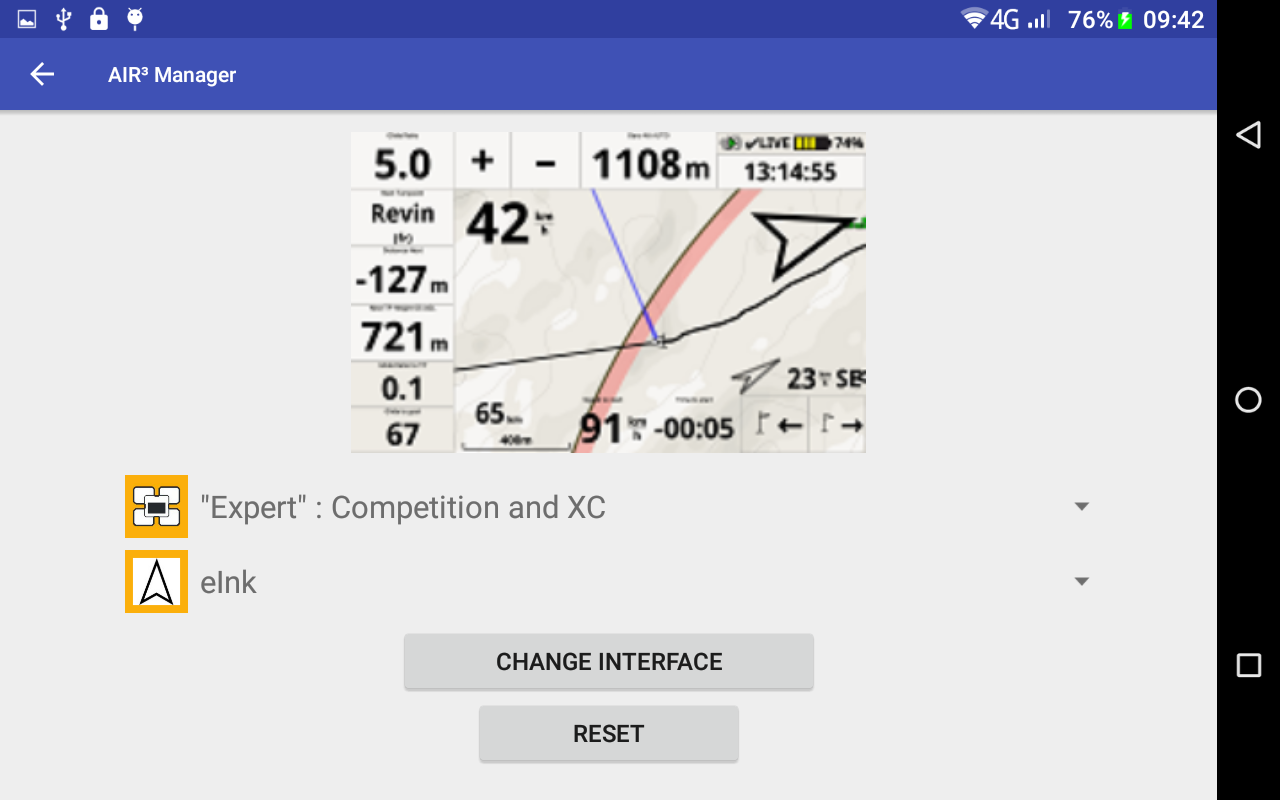
EXPERT

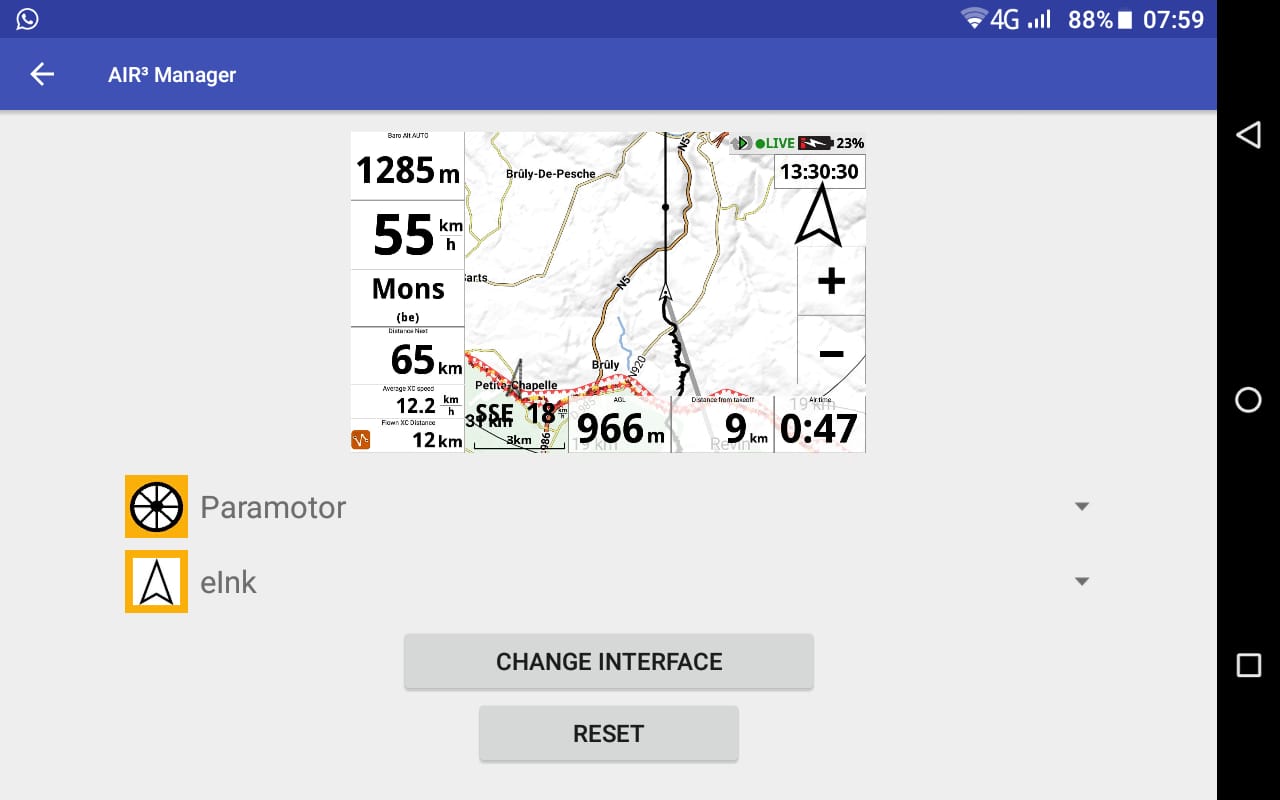
PARAMOTOR

BALLOON

Reset all settings of XCTrack PRO to default
First of all, make sure to use the latest version of XTrack and AIR³ Manager. Read more details here to upgrade your apps.
By clicking on the menu (3 dots in the top right corner), you can select “XCTrack interface”.
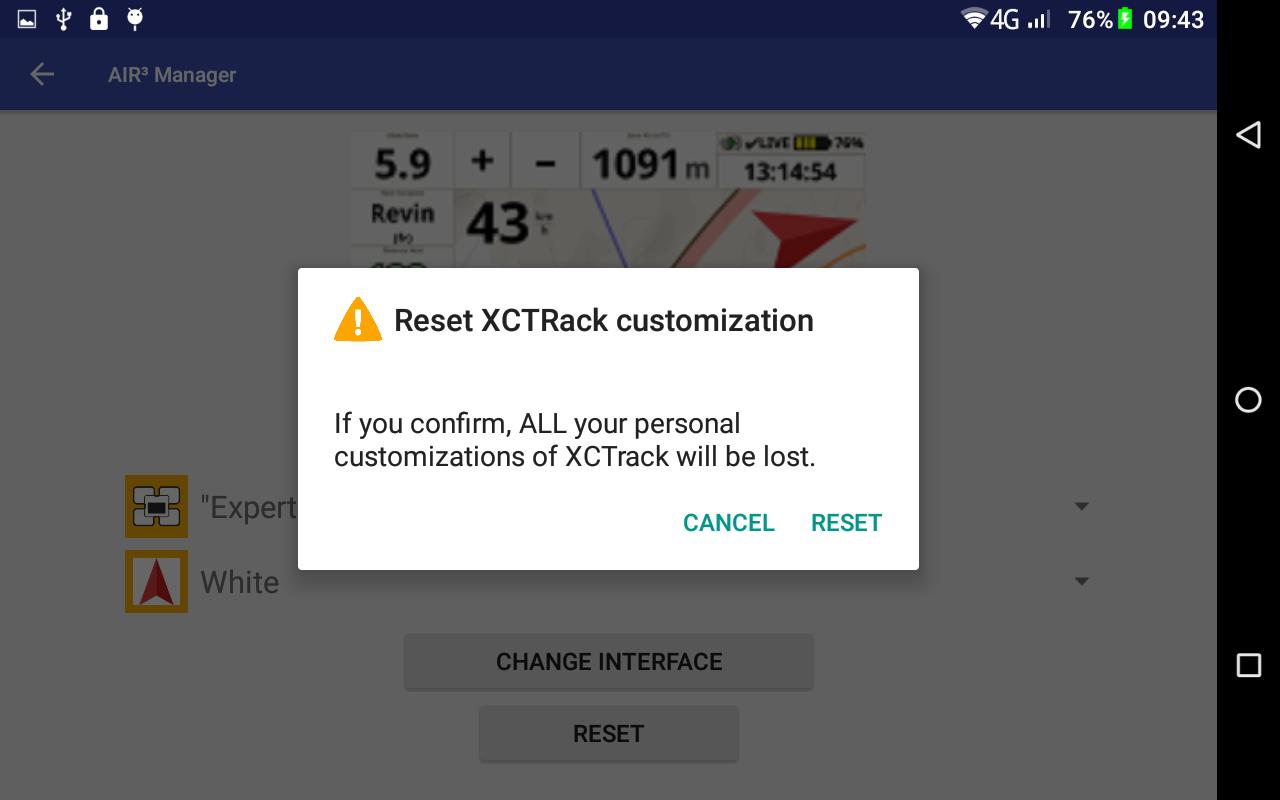
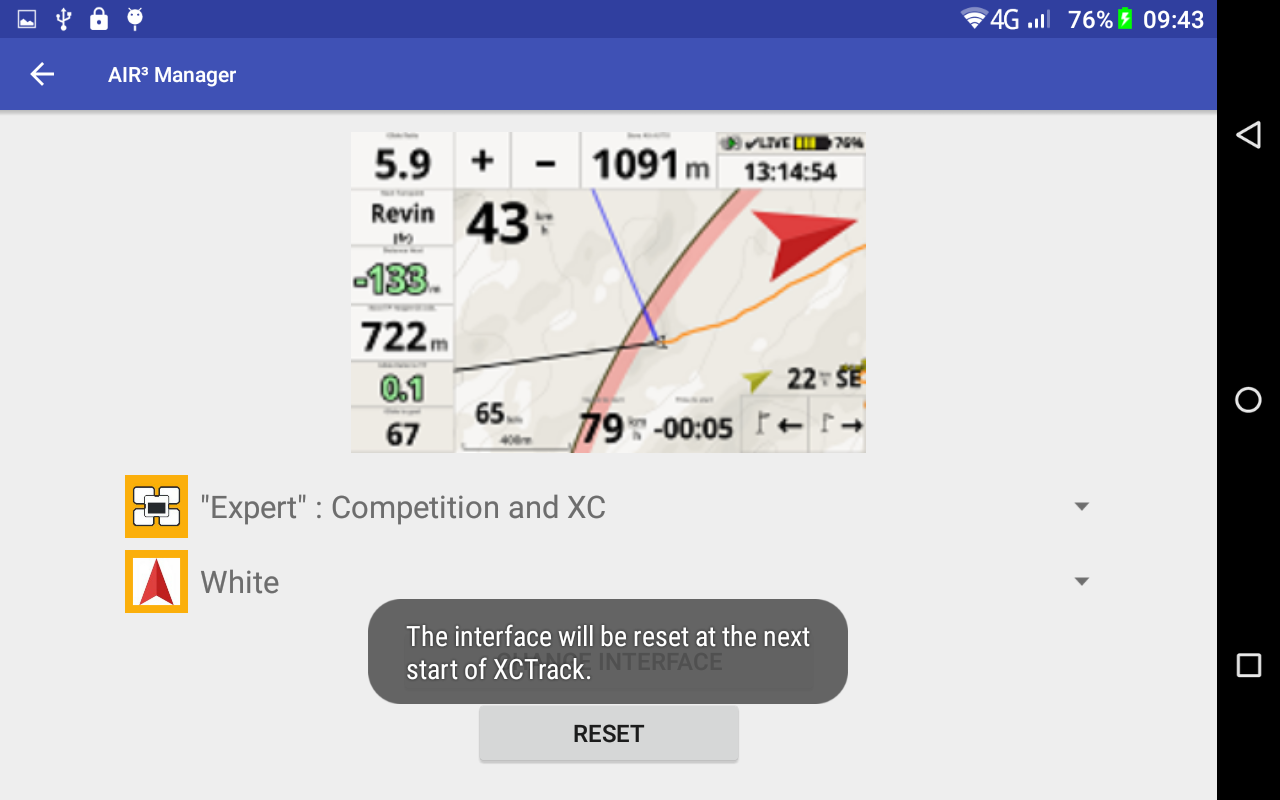
By clicking on “Reset”, you will get the opportunity to reset all settings of XCTrack to its default settings when you received your AIR³.
Then click on “RESET” to confirm the change.
Once done, you need to start XCTrack. If XCTrack was still running, quit XCTrack and start it again.
IMPORTANT NOTICE: by resetting, you will loose any customisation you could have applied. If you want to return to your previous configuration, don’t forget to first export your configuration. Read more details here.


Manually or automatically download the latest Openair file available in a shared Google drive
By clicking on the menu (3 dots in the top right corner), you can select “Settings” and enable “Download Openair file” to enable this feature.
Read more details about this feature in the Openair2AIR3 page.
Make sure you have:
- configured a Google account on the Air³
- given access for that Google account to a Google drive
- Openair files uploaded on that Google drive (corresponding to the right naming)


Once this feature is enabled in the settings, by clicking on the menu (3 dots in the top right corner), you can select “Settings” and request AIR³ Manager to automatically download the latest Openair file available on an accessible Google drive on boot. Alternativelly, you can also select “Download Openair file” in the menu to manually download that Openair file.
In the settings you can decide if you also want to download the danger zones or not.

List Openair files located on an accessible Google drive
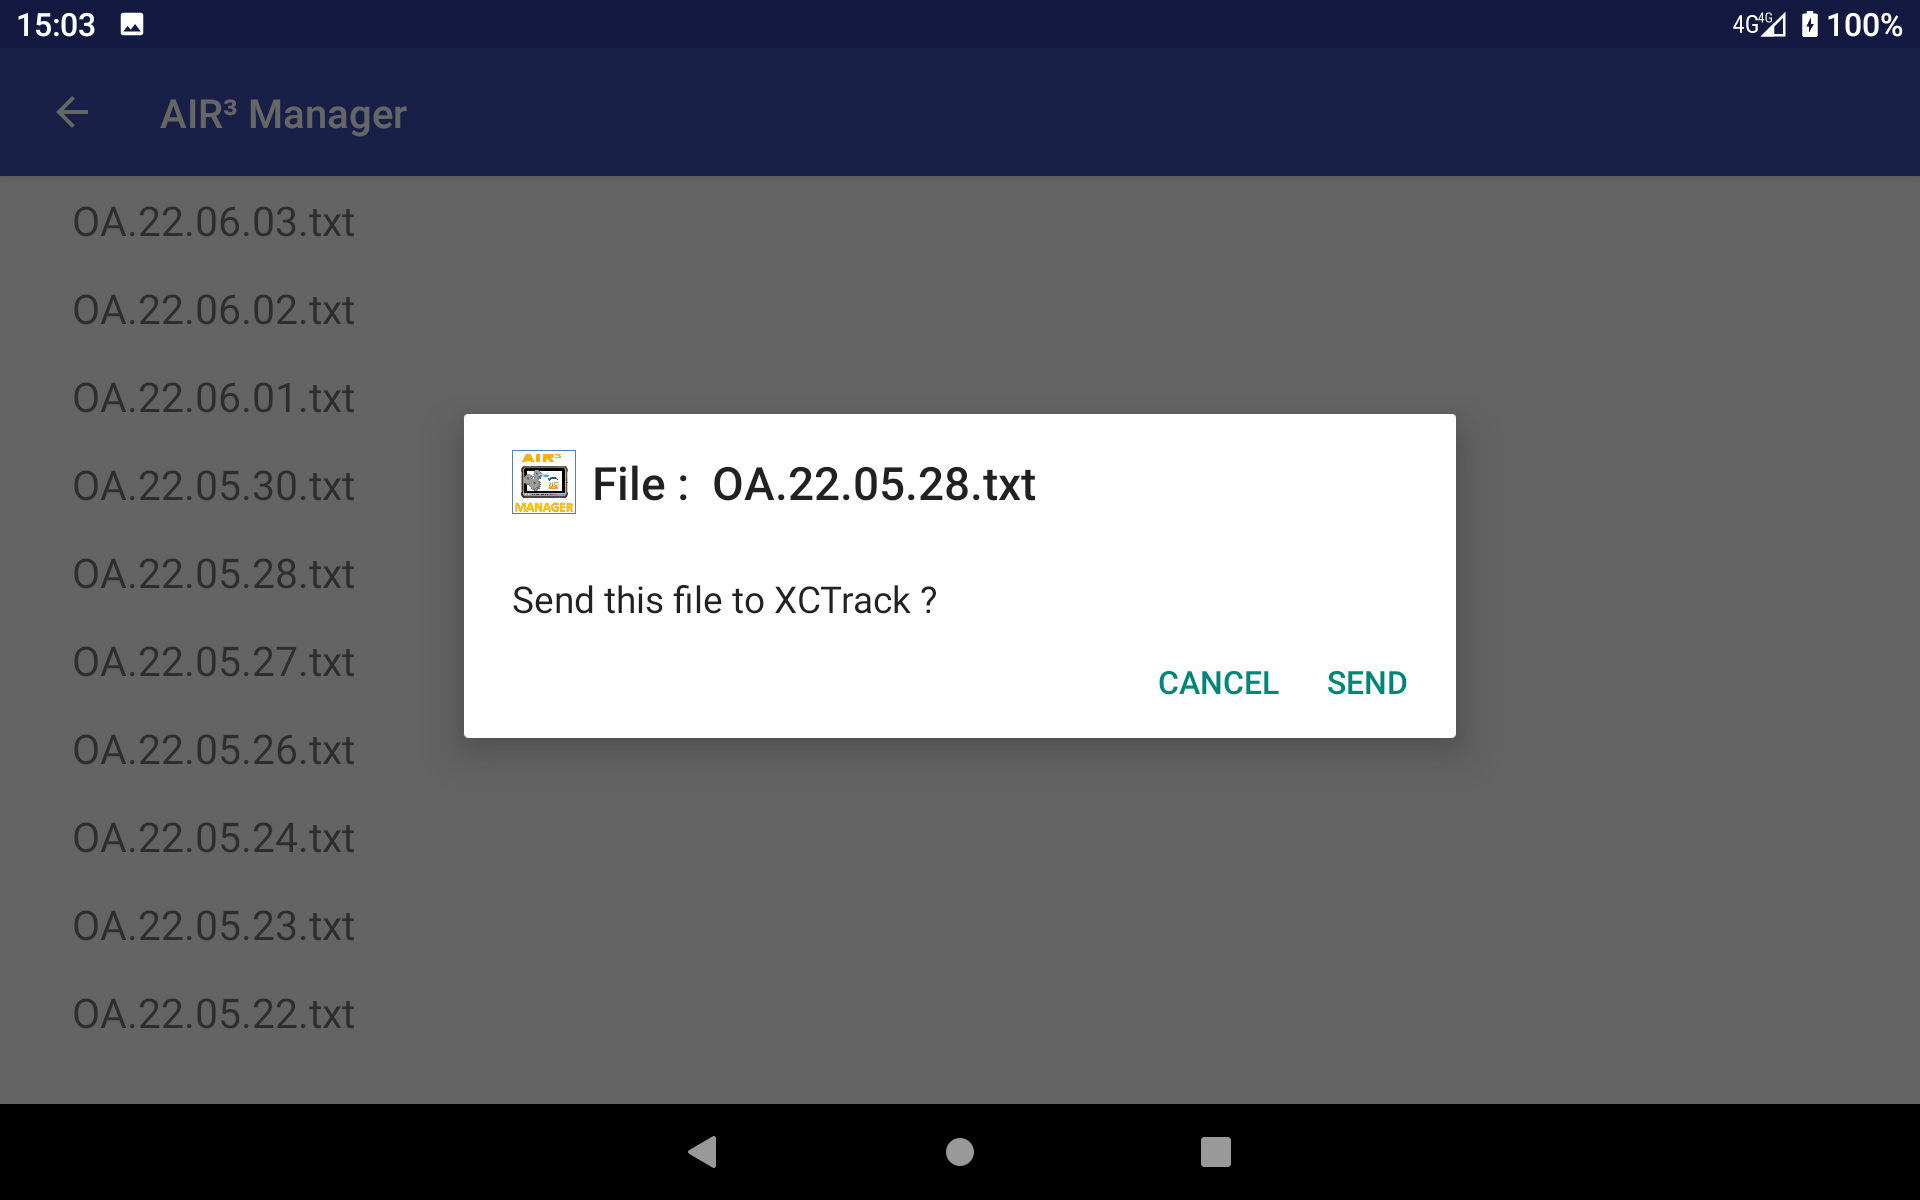
If the Download Openair file feature is enabled in the settings, by clicking on the menu (3 dots in the top right corner), you can select “File list”.
If you have correctly configured your AIR³ as indicated above regarding the automatic or manual download of the latest Openair file available in a shared Google drive, AIR³ Manager will list all Openair files available in such Google drive.
Then, if you click on a given file, AIR³ Manager will ask if you want to send this file to XCTrack. Click “Send” to confirm.
Read more details about this feature in the Openair2AIR3 page.

Check for upgrades
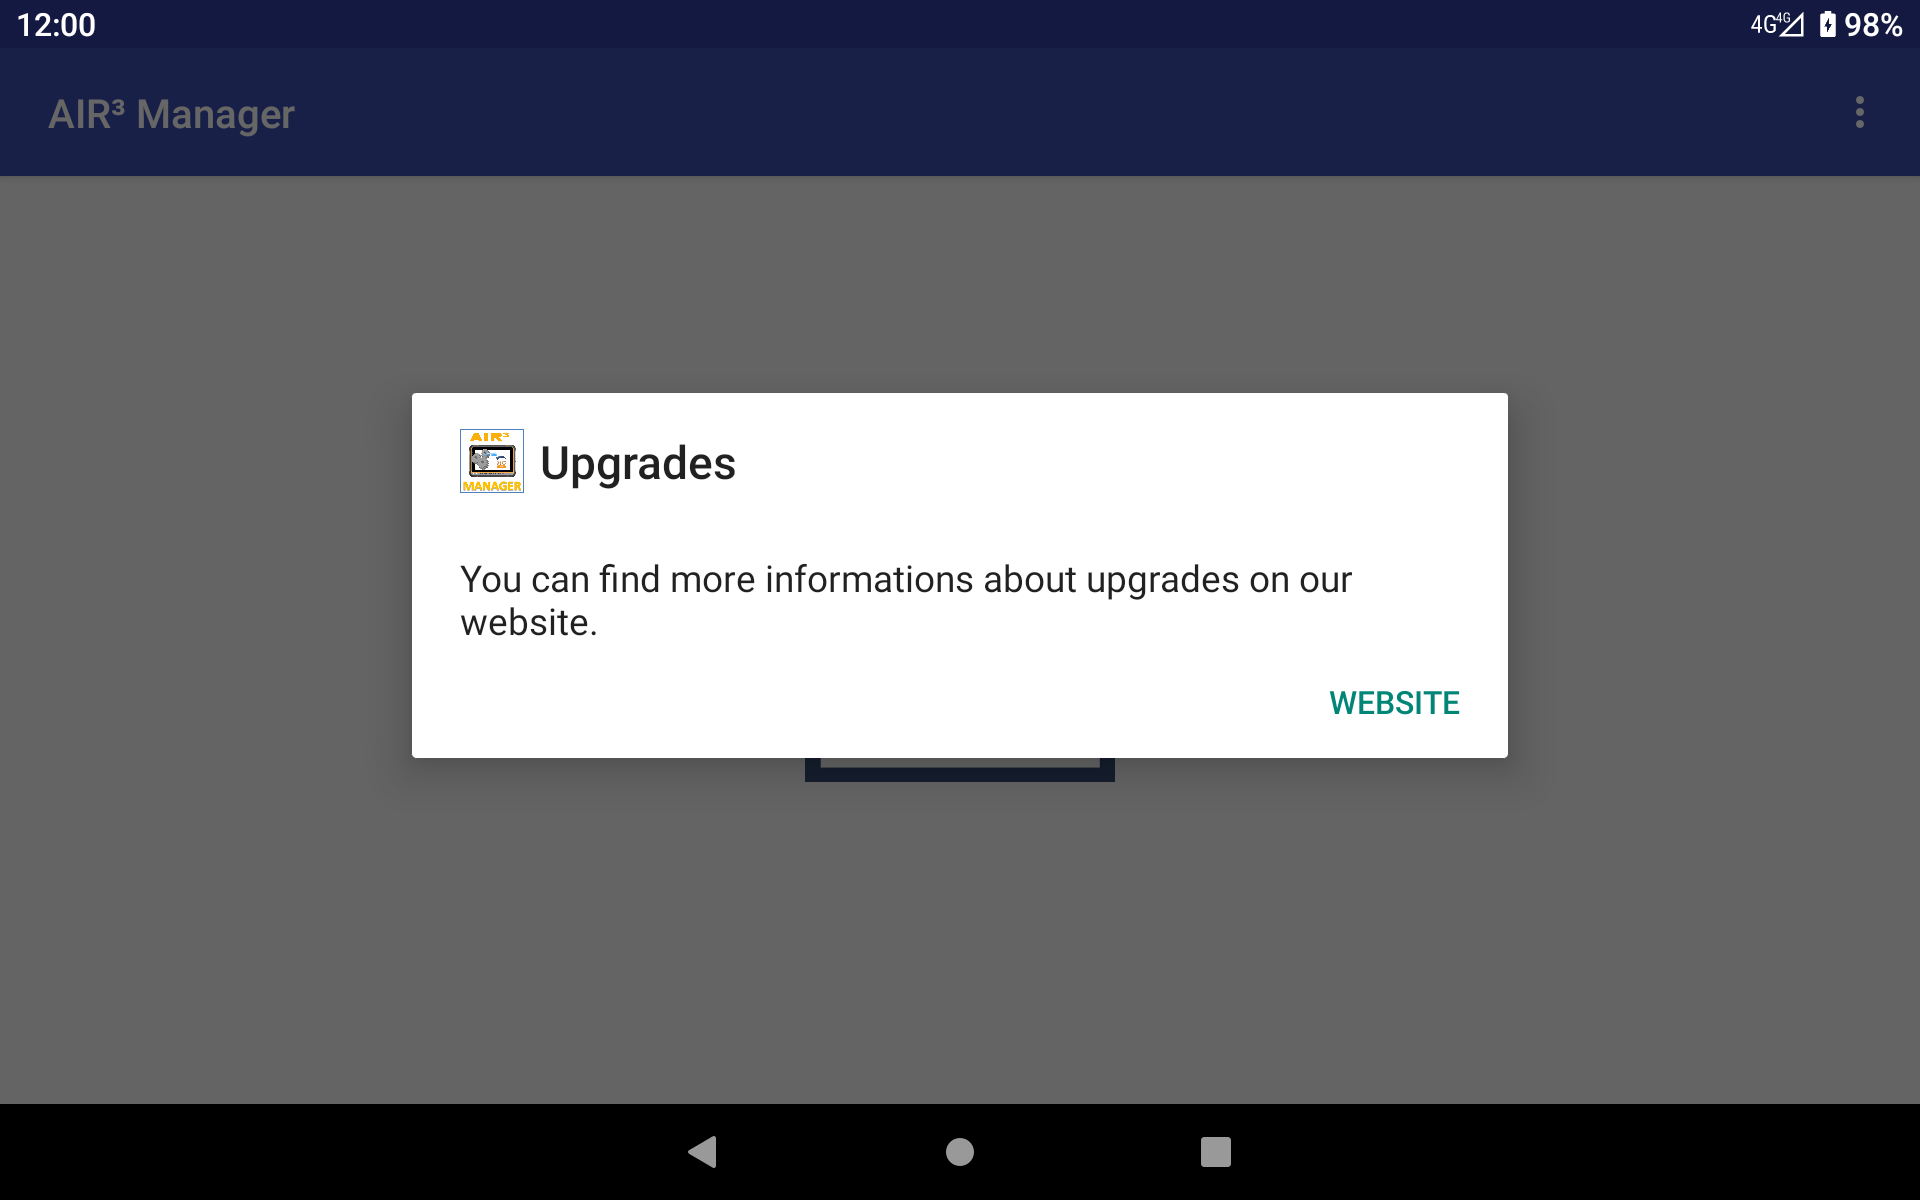
By clicking on the menu (3 dots in the top right corner), you can select “Check for upgrades”.
If you have internet access, you can click on the “Website” button. This will open a browser page right at the Software Upgrade Instructions page. Read instructions and click on the “latest versions” button to access the latest versions of the apps that can be downloaded and installed.

AIR³ Manager FAQ


